
Encrypting my Proxmox disks solves one problem, but it creates another: somebody has to enter the passphrase after every restart. Tang and Clevis can handle that automatically while a separate Tang machine is reachable, with an independent passphrase kept for recovery. I’ll set up that network-only route here, then look at what a TPM adds.
I’m using Debian 13 with initramfs-tools, GRUB and wired DHCP, including the Debian-based Proxmox VE 9 setup from the previous article. Run the commands in a Linux root Bash shell, a stage at a time, and fix any errors before moving on. They change the existing LUKS container and boot files without partitioning or formatting the disk. Have backups and a working console ready, and leave yourself time to watch the reboots.
This picks up from my fresh encrypted Proxmox installation guide. I covered why I wanted encryption in the first place in part one.
1. What Tang does (and doesn’t do)
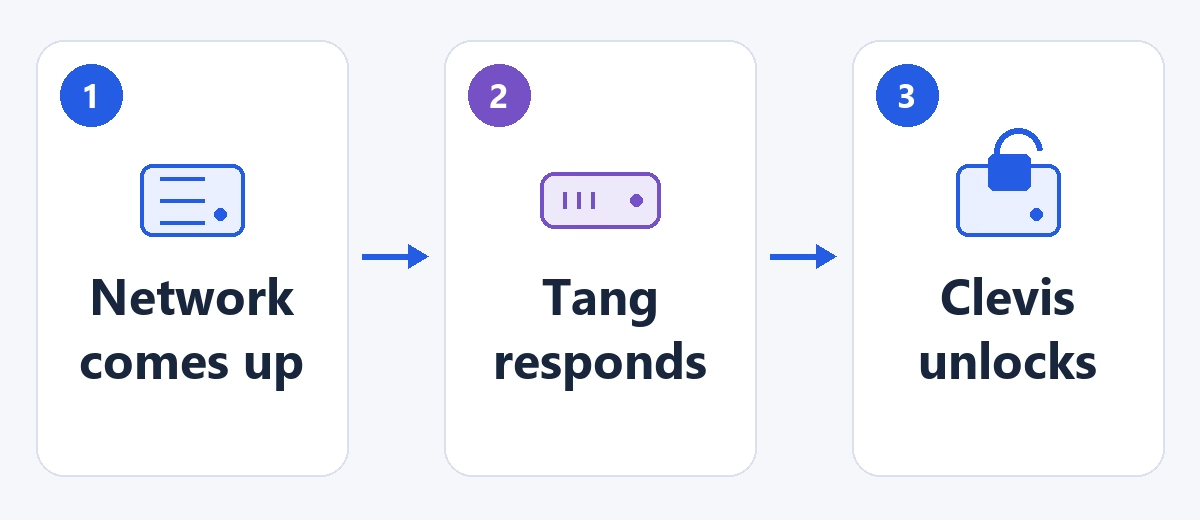
Tang keeps its own server keys rather than a database of your disk keys. Clevis adds a generated unlock credential and encrypted policy metadata to the LUKS header on the client. At boot, the client uses a cryptographic exchange with Tang to recover that credential; the disk’s existing volume key stays the same. The Tang design and Clevis binding manual explain how it fits together.
The important catch is that being able to reach Tang doesn’t prove this is your computer. Tang normally accepts anonymous clients, so an attacker with the disk and access to your enrolled Tang service can use the binding too. HTTP is supported because the protocol doesn’t send a plaintext disk key, but you still need to authenticate the server advertisement when enrolling. Keep Tang on a controlled private network, with no Internet port forwarding or public access.
This also leaves the boot environment unauthenticated. Someone who can change early boot and reach Tang may recover the credential before Linux gets anywhere near the login screen. Hiding Tang elsewhere helps with physical theft, but a reachable anonymous service can’t prove that a machine is still at home.
Put Tang on a separate machine that can boot on its own. Hosting it as a VM on the server it needs to unlock would leave you going round in circles. Think about where you put it too: a little appliance sitting beside the server could easily leave with it.
2. Prepare a separate Debian Tang server
Give the separate Tang server a private address that will stay put, and restrict access to the intended private network before starting the listener. On that Debian 13 machine, install the packages and inspect the services:
apt update
apt install tang curl jose
systemctl cat tangd.socket
systemctl cat 'tangd@.service'
The packaged socket normally listens on port 80; I’m using 7500 here. Run systemctl edit tangd.socket and add this override to bind it to one private address, replacing the example with your server’s real LAN address:
[Socket]
ListenStream=
ListenStream=192.0.2.20:7500
FreeBind=true
With FreeBind=true, the socket can start before its reserved address is configured during boot. It won’t create the address or fix a changing lease, so the address still needs to be durable. That’s the approach in systemd’s guidance for address-specific sockets.
systemctl daemon-reload
systemctl enable --now tangd.socket
systemctl restart tangd.socket
curl --fail http://192.0.2.20:7500/adv -o /tmp/tang-advertisement.jws
jose fmt --json /tmp/tang-advertisement.jws -g payload -y -o- | \
  jose jwk use -i- -r -u verify -o- | jose jwk thp -i- -a S256
Run the fingerprint pipeline at the trusted Tang server console. It extracts the public signing thumbprints from the server’s advertisement using the same JOSE operations as tang-show-keys. That helper requests localhost, so this version adjusts the request for the LAN-only listener. Copy the chosen public signing thumbprint to the client through a separately trusted channel. Fetching it over the same untrusted connection you’re enrolling against doesn’t verify the server. The Tang pin manual covers pinned enrolment.
3. Preserve and test manual recovery first
Back on the encrypted client, find the outer crypto_LUKS partition, its UUID and a known independent recovery slot. Use the outer partition rather than the decrypted mapper or root LV. Keep a data backup, trusted rescue media and a protected header backup outside the host. You need to be able to get the recovery passphrase without this machine or Tang.
lsblk -f
cat /etc/crypttab
read -r -p 'Outer LUKS device path: ' LUKS_DEVICE
cryptsetup luksDump "$LUKS_DEVICE"
read -r -p 'Existing independent recovery slot: ' RECOVERY_SLOT
cryptsetup open --test-passphrase --key-slot "$RECOVERY_SLOT" "$LUKS_DEVICE" || \
  { printf 'Recovery test failed; stop here.\n' >&2; exit 1; }
printf 'Recovery slot test succeeded.\n'
umask 077
# Mount a separately protected recovery medium here first.
mountpoint -q /mnt/recovery && \
  cryptsetup luksHeaderBackup "$LUKS_DEVICE" \
    --header-backup-file /mnt/recovery/before-clevis.img || \
  { printf 'Header backup failed; stop here.\n' >&2; exit 1; }
The failure checks exit the root shell. If one trips, fix the problem before continuing in another shell. A successful passphrase test confirms that it matches the slot you selected; keep at least one usable credential throughout. Header backups hold sensitive keyslot material, and an old header with a formerly valid passphrase can still decrypt the unchanged data, so protect the old copies too.
4. Enroll a pinned Tang binding
apt update
apt install clevis clevis-luks clevis-initramfs cryptsetup-initramfs curl
clevis luks list -d "$LUKS_DEVICE"
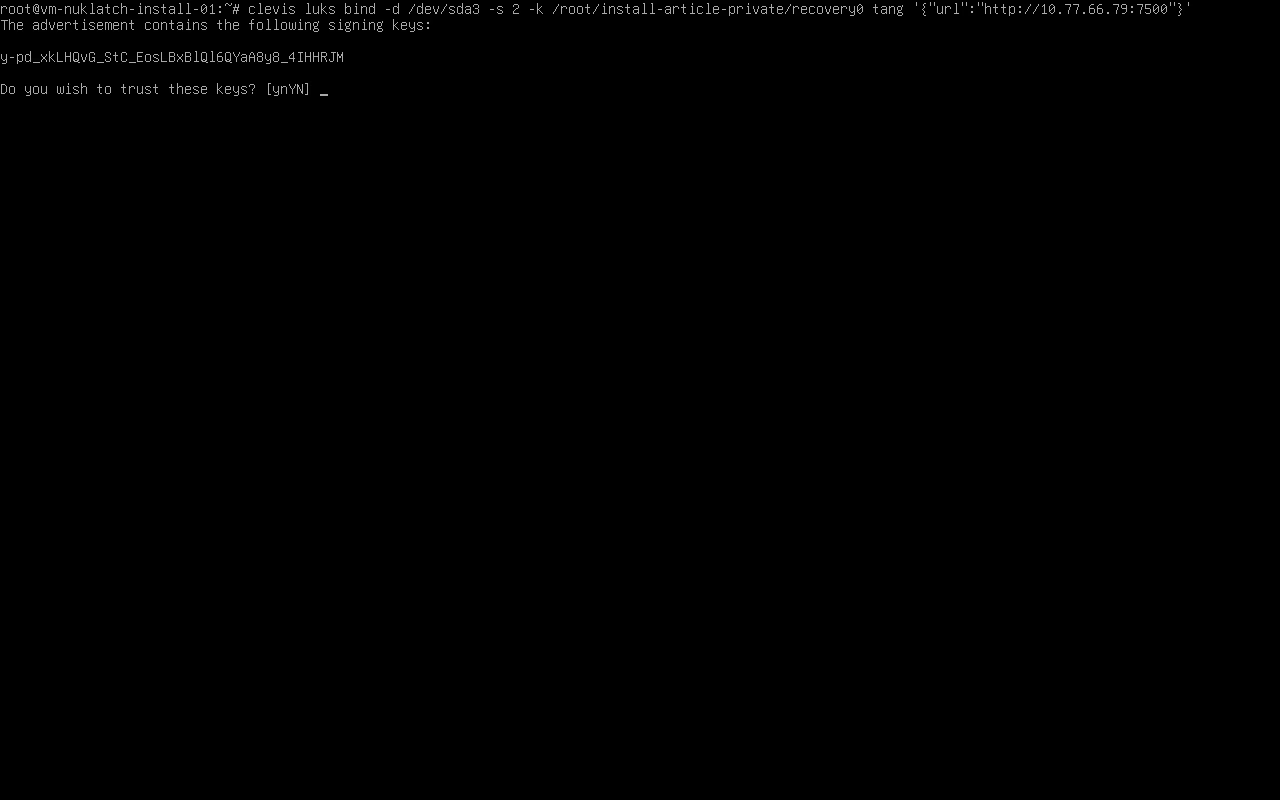
Note the existing bindings before adding one. Replace the example URL with your durable private Tang endpoint and use the signing thumbprint you checked independently. When prompted, enter an existing LUKS passphrase:
clevis luks bind -d "$LUKS_DEVICE" tang \
  '{"url":"http://192.0.2.20:7500","thp":"REPLACE_WITH_VERIFIED_SIGNING_THUMBPRINT"}'
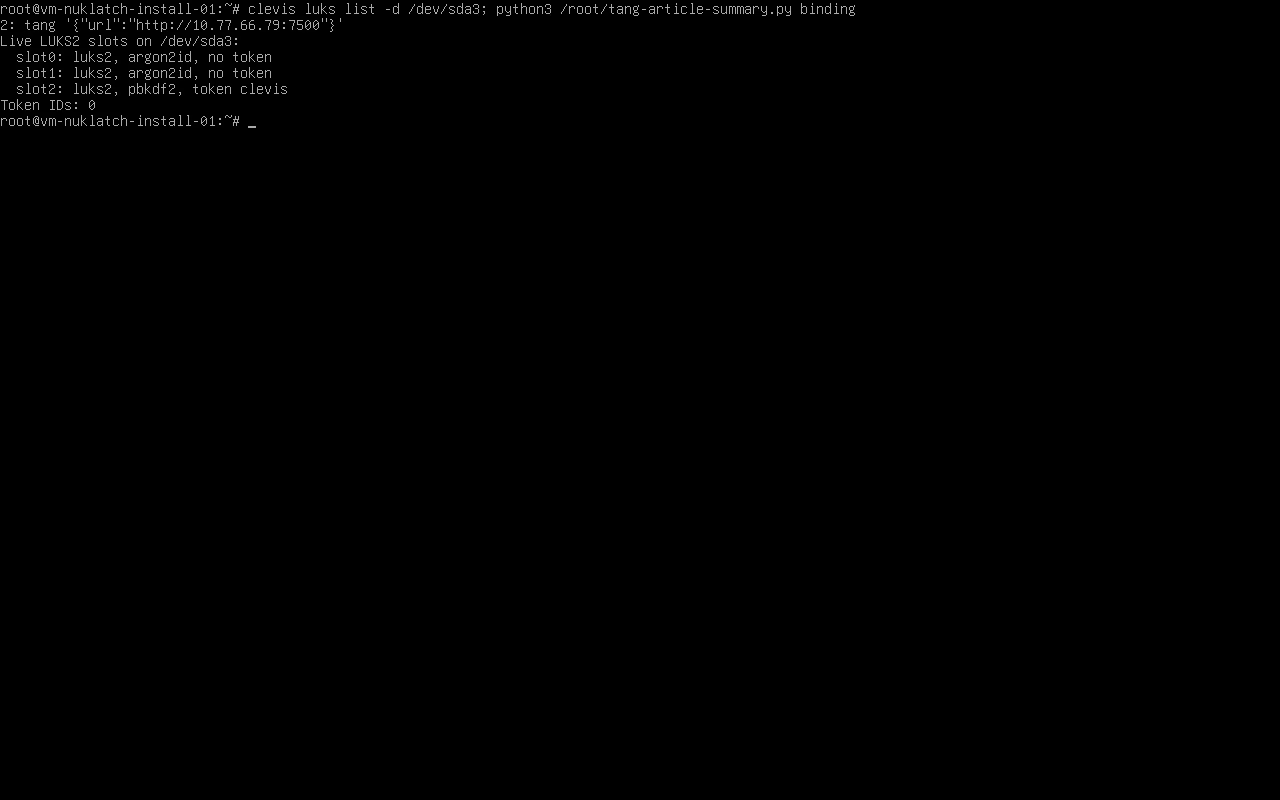
clevis luks list -d "$LUKS_DEVICE"
cryptsetup luksDump "$LUKS_DEVICE"
mountpoint -q /mnt/recovery && \
  cryptsetup luksHeaderBackup "$LUKS_DEVICE" \
    --header-backup-file /mnt/recovery/after-clevis.img || \
  { printf 'Updated header backup failed; stop here.\n' >&2; exit 1; }
Don’t add -y to skip advertisement trust. Note the new Clevis slot shown in the listing rather than assuming it will be slot 1. Clevis and your recovery passphrase are separate ways into the same disk. Also avoid debugging commands that print clevis luks pass output: that’s an unlock secret.
5. Give the initramfs its own network configuration
Now for the part that needs to work before root is mounted: networking in the initramfs. It’s separate from the Proxmox vmbr0 configuration that loads later. My Debian 13 test VM uses stock Clevis 20 and initramfs-tools 0.148.4. When Clevis finds a Tang binding, it calls the stock network function; with IP unset, that requests DHCP on DEVICE. Choose the physical wired NIC here, since the bridge doesn’t exist yet.
Check /proc/cmdline, /etc/default/grub, its drop-ins and the existing /etc/initramfs-tools configuration first. If you already have ip=, a nonempty IP= or an early-network DEVICE=, adapt that setup rather than piling another one on top. Leave any existing tang-network file and other features’ boot arguments alone. This example assumes there’s no competing early-network configuration:
ip -br link
cat /proc/cmdline
read -r -p 'Physical early-boot wired interface, for example eno1: ' EARLY_NIC
readlink -f "/sys/class/net/$EARLY_NIC/device/driver"
EARLY_CONFIG=/etc/initramfs-tools/conf.d/tang-clevis-article
if [ -e "$EARLY_CONFIG" ] || [ -L "$EARLY_CONFIG" ]; then
  printf 'Configuration already exists; inspect it instead of overwriting.\n' >&2
  exit 1
fi
printf 'DEVICE=%s\n' "$EARLY_NIC" > "$EARLY_CONFIG"
The printf command writes the setting with a real newline. On this test VM I didn’t need a global IP= assignment or a GRUB ip= argument, so there’s no need to add either just for this setup. Check that the initramfs includes the NIC driver and firmware, and reserve a suitable DHCP address where needed. Using Tang’s numeric address avoids needing early DNS as well.
BOOT_KERNEL=$(uname -r)
update-initramfs -u -k "$BOOT_KERNEL" || \
  { printf 'Initramfs build failed; stop before reboot.\n' >&2; exit 1; }
lsinitramfs "/boot/initrd.img-$BOOT_KERNEL" | \
  grep -E 'clevis|cryptroot|tang-clevis-article'
Check the selected image contains the Clevis hooks, cryptroot, the NIC driver and your new configuration. Keep a complete working kernel and recovery boot path, bearing in mind that package operations can regenerate other initrds too. This uses initramfs-tools networking; dracut’s rd.neednet=1 isn’t an equivalent setting.
6. Try automatic boot, then take Tang away
Reboot with Tang reachable and watch the console. Root should unlock without a passphrase, the expected kernel should boot, and Proxmox management should come back. On a bridge host, check that early DHCP has handed over properly: the normal address and default route should be on the intended bridge, without an address left on its physical port.
uname -r
findmnt /
lsblk -f
ip -br address
ip route
# On a Proxmox host only:
if command -v pvesm >/dev/null; then pvesm status; fi
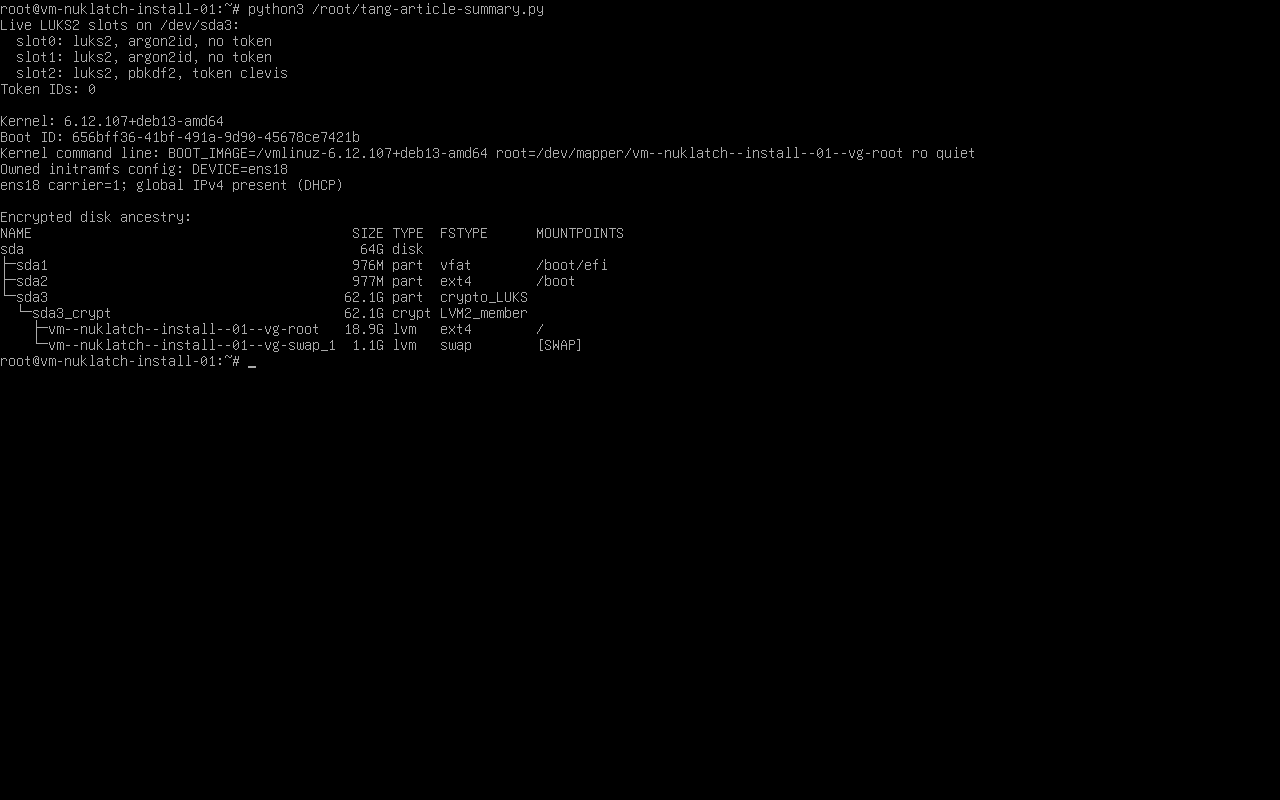
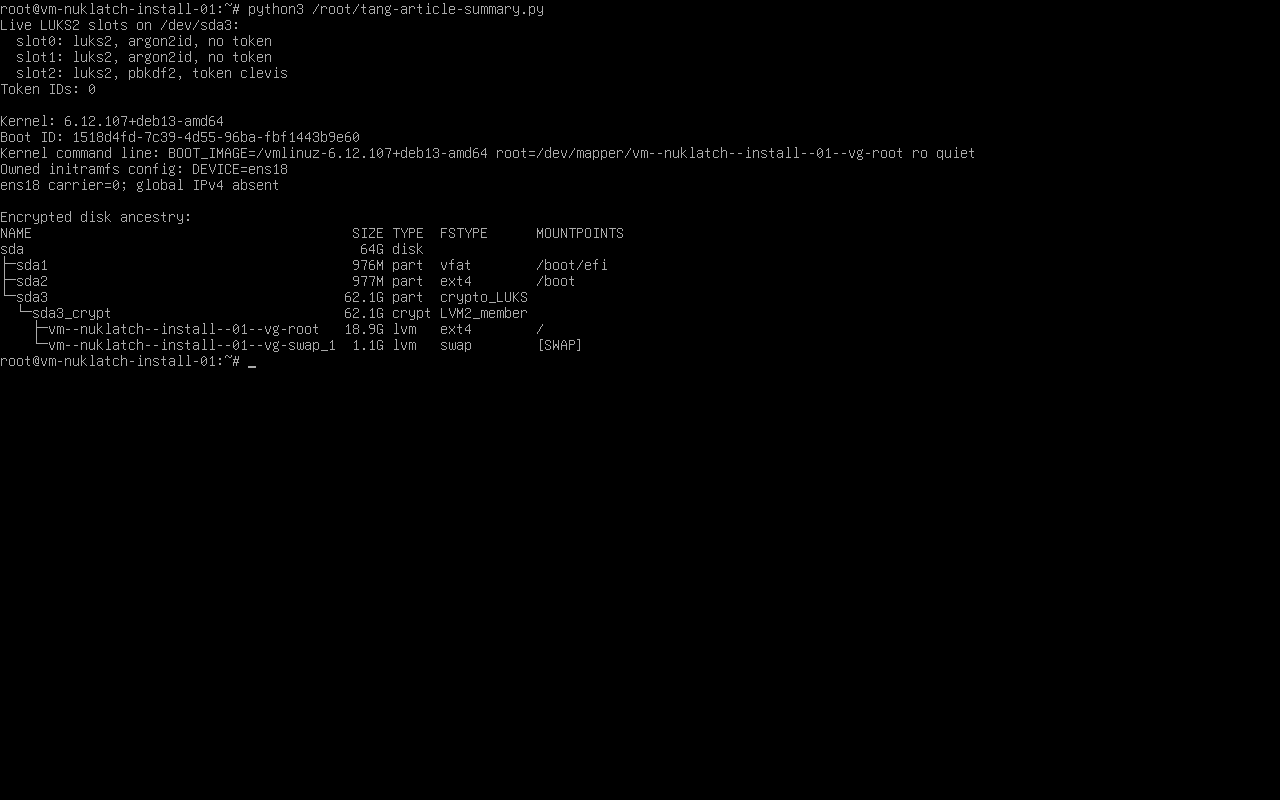
Then make Tang unreachable only from this test client and reboot with the console ready. Leave shared Tang services and production bridges running. Automatic unlock should fail; use the independent recovery passphrase and check you can still boot normally. Restore the connection and try automatic boot again. Give it time to retry the network… my tests have taken minutes to reach recovery.
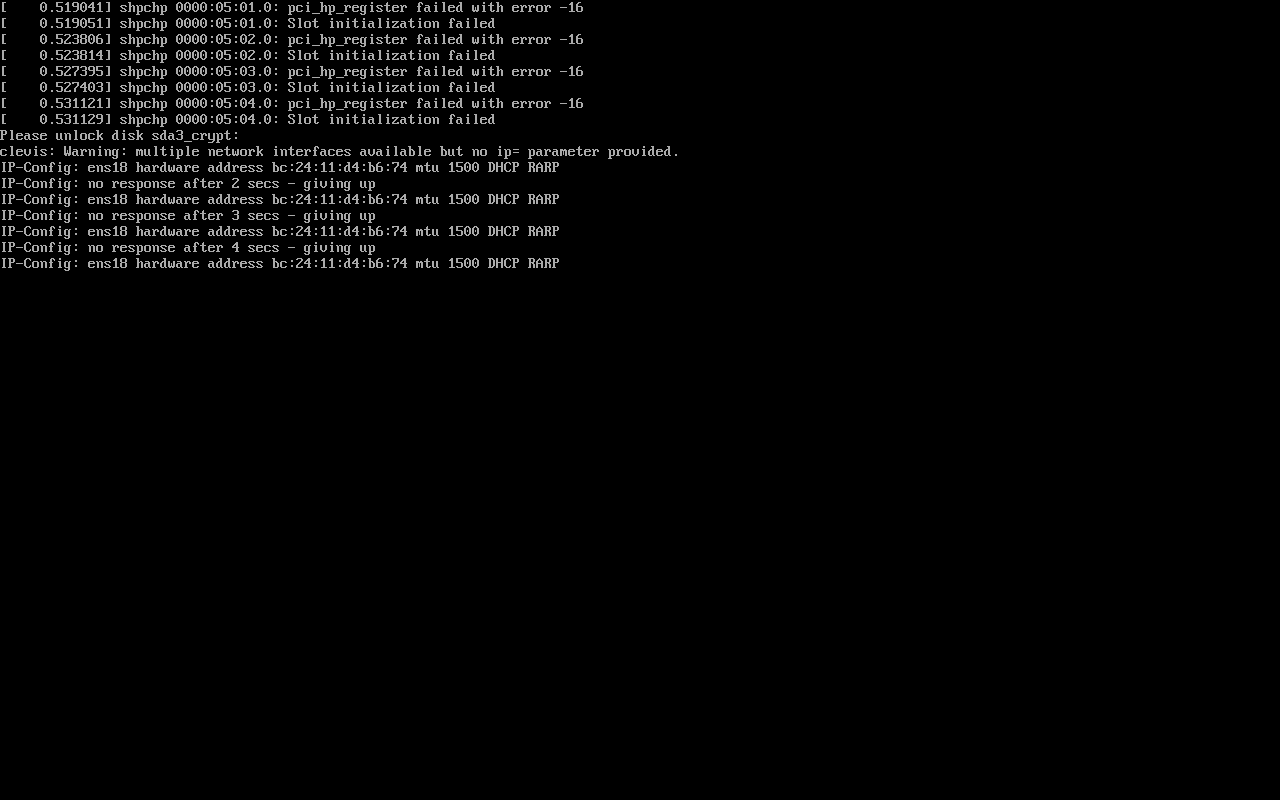
For a disposable VM, disconnecting its own virtual NIC makes a straightforward outage test. A firewall rule that only loads in the normal OS may arrive too late to affect the initramfs, leaving you with a failure test that never actually blocked anything.
If automatic boot fails, work out whether you’re looking at the Tang binding or early networking before changing keyslots. Fetching the advertisement after a normal boot doesn’t tell you whether the initramfs can use the NIC or complete the recovery exchange. Check the console, selected kernel, interface name, DHCP and packed Clevis hooks. Don’t weaken a policy just because a required factor is missing. If you can’t reach recovery through the installed boot path, use trusted rescue media and the independent passphrase. Start by inspecting read-only rather than restoring a header over the live container.
If a factor stays unavailable
- Network or Tang failure: use the console and independent LUKS passphrase, then sort out the network or Tang server. Keep that credential available offline.
- TPM policy failure after an update: use a retained approved boot image or independent recovery. Check why the policy refused the boot before changing PCR settings or removing a factor.
- Tang keys lost: the independent passphrase still unlocks the disk. Set up a replacement Tang identity, check its new signing pin, enrol and test the new binding, then remove the old one.
7. What TPM plus Tang really means
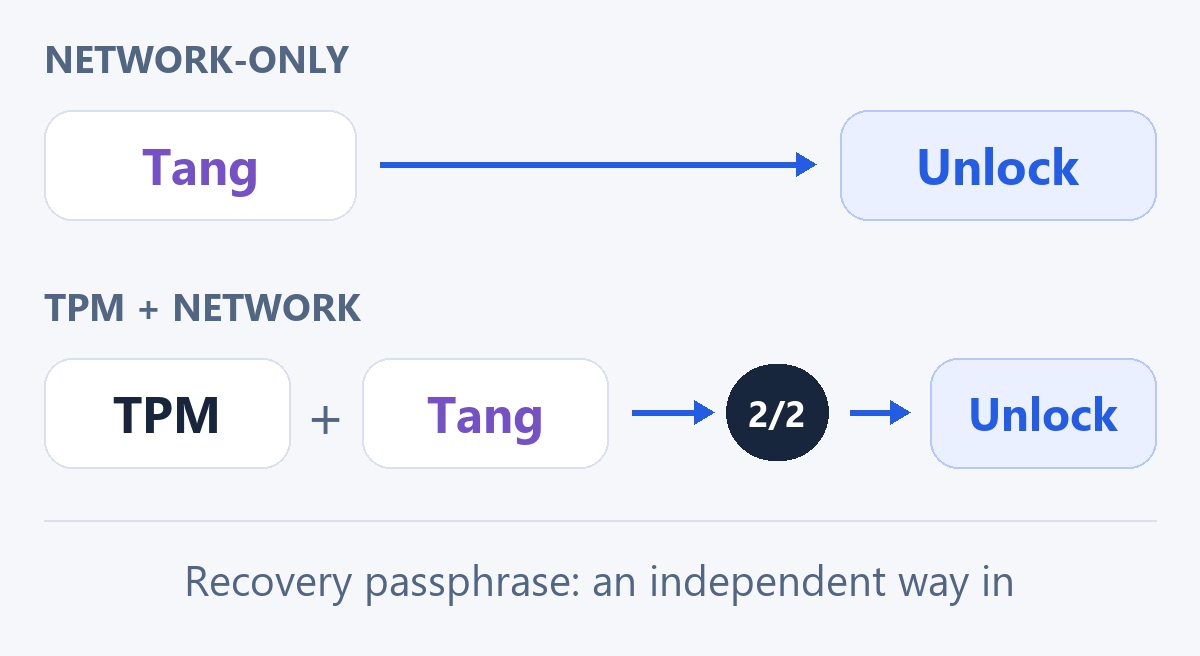
To require the original TPM and Tang, both have to be part of the same policy. Clevis can express that with two shares and a threshold of t:2. It looks like this:
{
  "t": 2,
  "pins": {
    "tpm2": {"pcr_bank":"sha256", "pcr_ids":"QUALIFIED_PCR_POLICY"},
    "tang": {"url":"http://YOUR_PRIVATE_TANG:7500", "thp":"VERIFIED_THUMBPRINT"}
  }
}
This shows the policy shape; it isn’t a runnable hardened-root recipe. Separate TPM-only and Tang-only slots give you TPM or Tang. Keeping a network-only slot would also leave a way around the stronger automatic policy. The independent recovery passphrase is still a separate, intentional way in.
PCR 7 measures Secure Boot policy, but that alone doesn’t authenticate every byte of the initramfs or every kernel argument. In separate Debian 13 VM work, I tested Secure Boot, signed unified kernel images, a signed PCR 11 boot-phase policy, observed PCR 7/12/13 values, separate custody of signing keys, and recovery and update handling. That’s a different stack from this walkthrough, and those tests don’t give me a ready-made migration for Proxmox GRUB, encrypted LVM or physical TPMs. The details are in Clevis thresholds, PCR policy semantics and signed UKI measurements.
| What is taken or reachable? | Network-only | Correctly combined TPM + Tang |
|---|---|---|
| Disk alone, no Tang access | Automatic route unavailable | Automatic route unavailable |
| Disk + usable Tang, different computer | Assume unlock possible | Original TPM still required |
| Original whole host + usable Tang | Automatic factors available | Both factors are present; do not promise theft prevention |
| Disk and an independent passphrase | Recovery unlock works | Recovery unlock still works |
The combined column assumes a protected boot chain and no weaker alternative slot. Binding to TPM hardware and protecting boot integrity are separate jobs. You’ll still need normal OS authentication after an automatic boot.
Taking the whole host takes its TPM too. If the thief also has Tang, or the stolen host can still reach it, both automatic factors are available. Moving just the disk to a different machine is a different situation because the original TPM is missing. That’s why I wouldn’t describe TPM plus Tang as blanket protection against the whole setup being stolen.
8. Backups, key rotation and removing the binding
On Debian, Tang’s private keys live under /var/lib/tang. Check the packaged service’s actual path first, especially on another distribution, then back up the whole directory to protected offline storage, including hidden retired keys. Keep the key files out of logs and issues.
# On the separate Tang server, with protected recovery media mounted:
umask 077
mountpoint -q /mnt/recovery && \
  tar -C /var/lib -cpf /mnt/recovery/tang-private-keys.tar tang
Key rotation adds new keys while keeping the old exchange keys available for existing clients. Debian provides /usr/libexec/tangd-rotate-keys -d /var/lib/tang for this. Verify the new advertisements, update bindings and test every client before deleting old keys. Update a pinned old thumbprint deliberately rather than bypassing trust to get past an error. The rotation manual explains why deleting old keys too early breaks existing bindings.
A copy of Tang’s key directory can act as another Tang identity, so its backups need protecting just as much as the appliance. Keep them away from the client disks and header backups. After a kernel or initramfs update, watch an automatic boot and test recovery with Tang unavailable again before relying on remote restarts.
If you want to remove automatic unlocking, test the independent recovery slot first. Then remove the Clevis slot you actually found in the listing:
# Re-enter these public identifiers after a reboot/new root shell.
lsblk -f
read -r -p 'Outer LUKS device path: ' LUKS_DEVICE
cryptsetup luksDump "$LUKS_DEVICE"
read -r -p 'Independent recovery slot to test: ' RECOVERY_SLOT
clevis luks list -d "$LUKS_DEVICE"
cryptsetup open --test-passphrase --key-slot "$RECOVERY_SLOT" "$LUKS_DEVICE" || \
  { printf 'Recovery test failed; do not remove any slot.\n' >&2; exit 1; }
read -r -p 'Confirmed Clevis slot to remove: ' CLEVIS_SLOT
clevis luks unbind -d "$LUKS_DEVICE" -s "$CLEVIS_SLOT"
cryptsetup luksDump "$LUKS_DEVICE"
Inspect /etc/initramfs-tools/conf.d/tang-clevis-article before removing it. Continue only if it still contains just the DEVICE setting added here, then remove that exact file and rebuild the running kernel’s initramfs. This setup didn’t add a GRUB networking argument, so leave any other ip= or IP= settings alone:
rm -- /etc/initramfs-tools/conf.d/tang-clevis-article
update-initramfs -u -k "$(uname -r)" || \
  { printf 'Initramfs build failed; stop before reboot.\n' >&2; exit 1; }
Check that a manual-only reboot works, then make a fresh protected header backup. An older header plus the matching Tang keys can still unlock through the old route, because unbinding doesn’t change the volume key. Keep your rescue media and recovery passphrase.
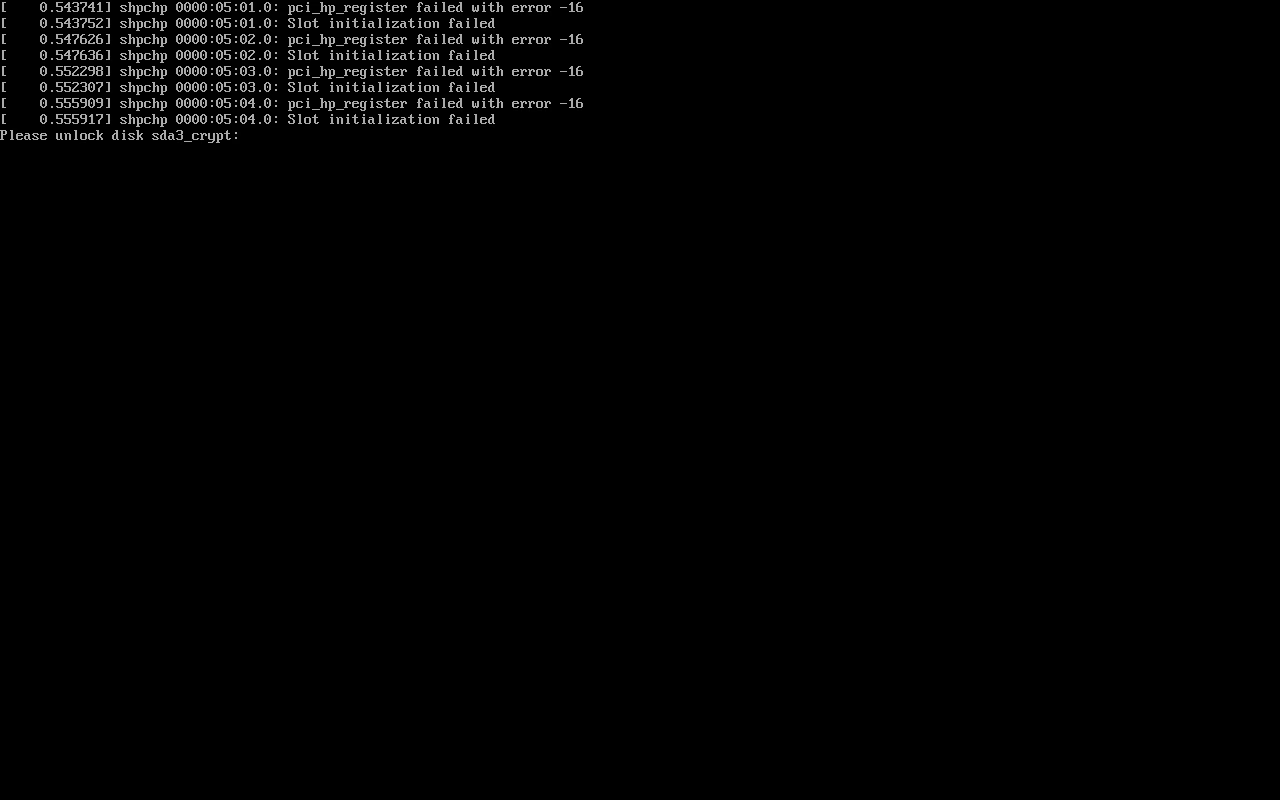
My test VMs ran Debian 13.7 UEFI, encrypted LVM/ext4 root, wired DHCP, Clevis 20-1, Tang 15-2 and initramfs-tools 0.148.4. Pinned enrolment, wrong-pin refusal and the automatic, disconnected-NIC recovery, reconnected and post-removal boots worked. Original slots 0/1 and Tang keys stayed intact; both VMs are stopped. I haven’t tested physical NICs/TPMs, PVE bridge handover, VLANs, bonds or static early networking here. Earlier nested Proxmox tests covered encrypted root and guest storage; the stronger TPM boot stack is separate.
Leave a Reply