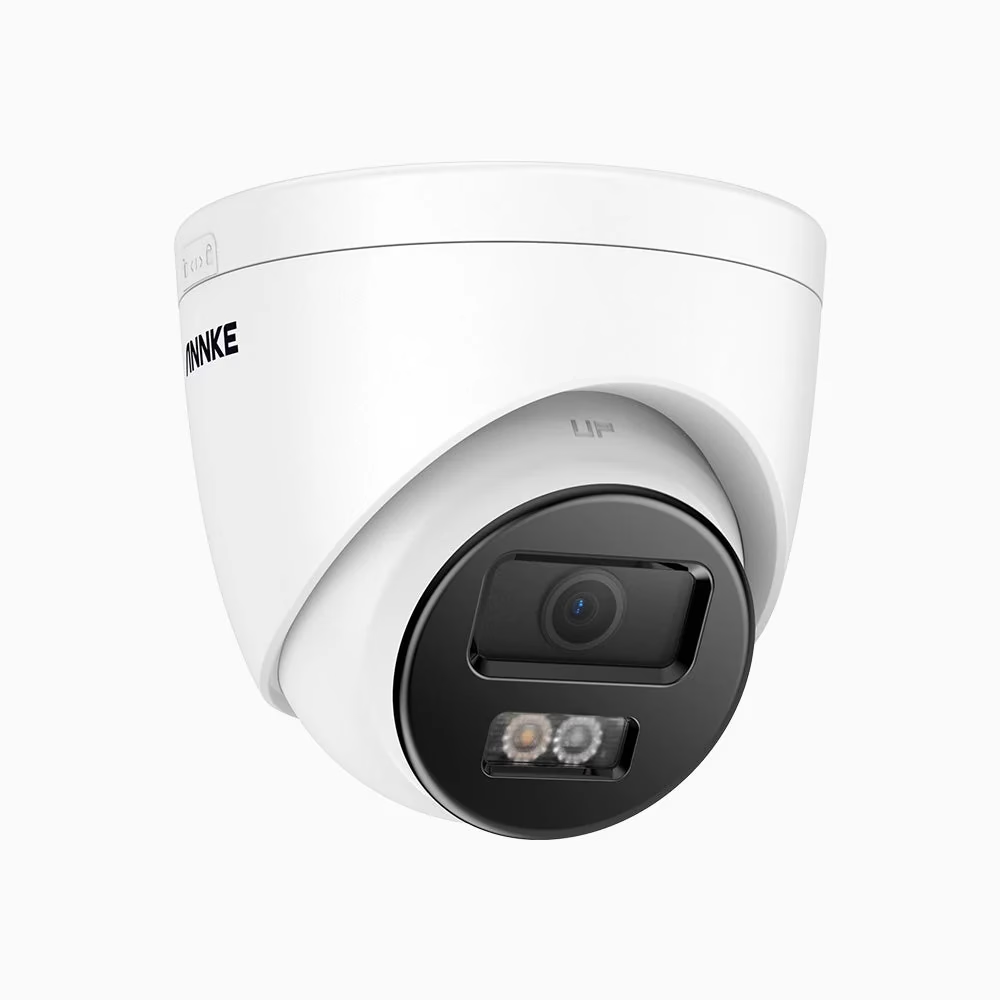
My IP cameras use a local recorder and have no need for Internet access. They’re on a separate VLAN, with firewall rules allowing the recorder access and blocking everything else they don’t need.
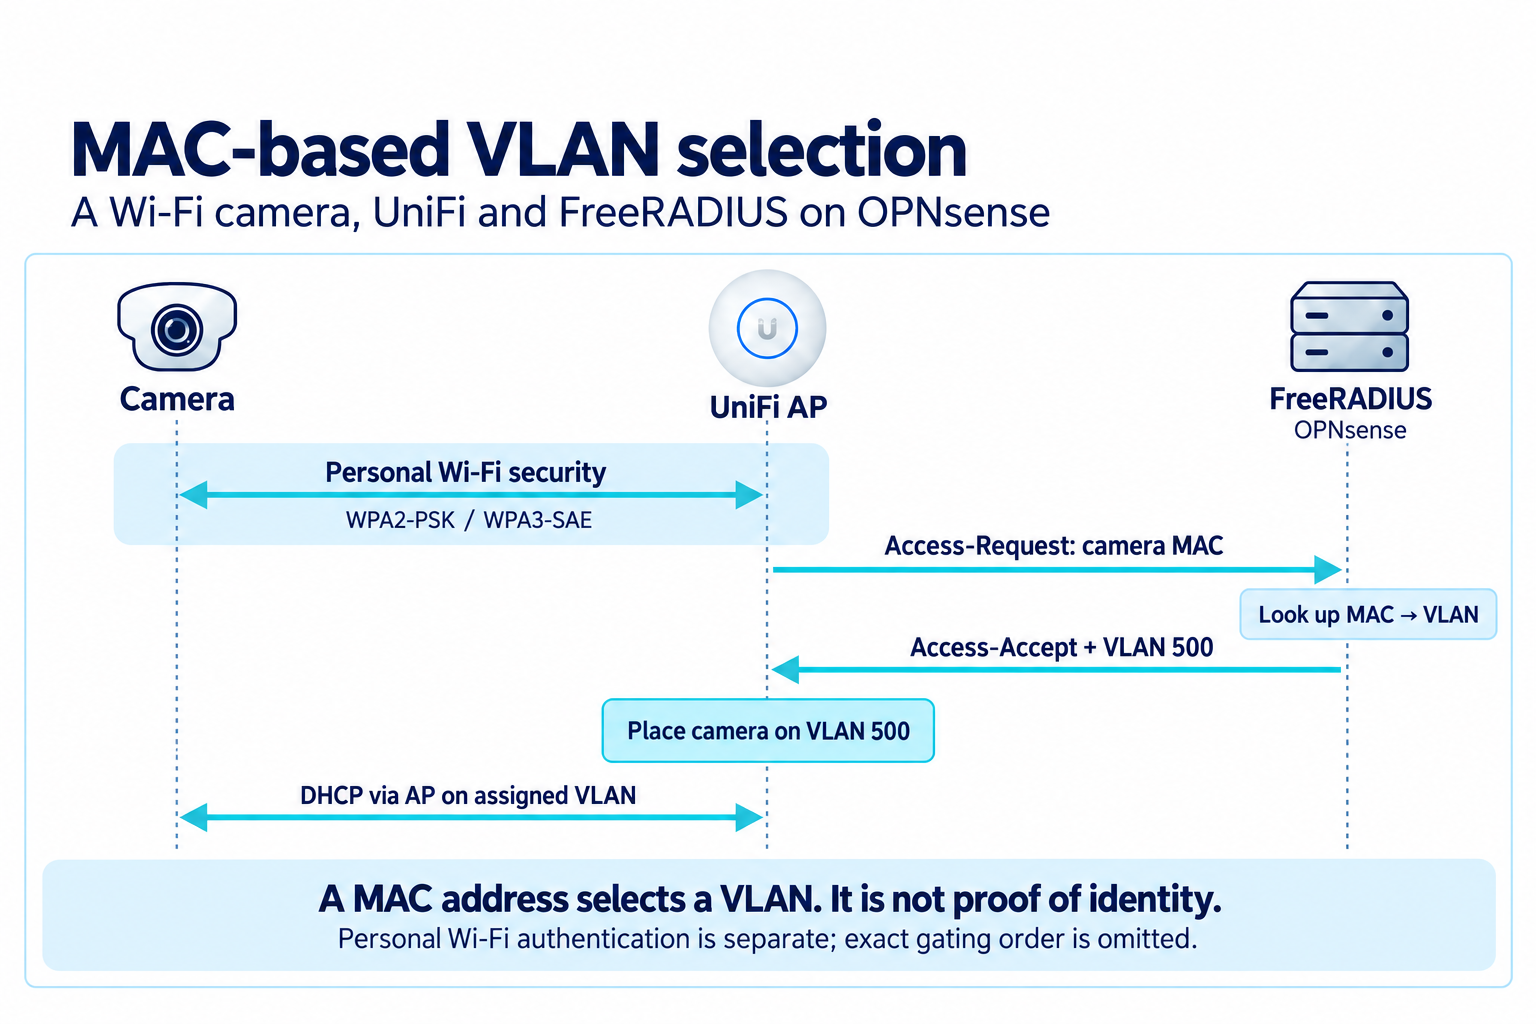
UniFi’s RADIUS MAC authentication lets them join the existing WiFi and still be assigned to the camera VLAN. FreeRADIUS on OPNsense holds the MAC-to-VLAN mapping. The cameras continue using the normal WiFi password.
This example uses VLAN 500 for cameras. The VLAN, DHCP scope and firewall rules need to exist on OPNsense, and VLAN 500 must be carried through the switches to the AP. The steps below cover the UniFi and FreeRADIUS configuration.
UniFi configuration
1. Add the camera network
Under Settings → Networks, add a network named Cameras, with VLAN ID 500 and the router set to Third-party Gateway. If the network already exists, use that. Routing and DHCP remain on OPNsense.
2. Create the RADIUS profile
Open Settings → Networks → RADIUS Servers and create an external RADIUS profile. Some Network versions put RADIUS under Profiles.
- Name:
opnsense. - Authentication server: the OPNsense address reachable from the AP.
- Port:
1812. - Shared secret: a generated secret, which will also be entered against the AP in FreeRADIUS.
- RADIUS Assigned VLAN Support: enable it for wireless networks.
Save the profile. Accounting isn’t required for VLAN assignment.
3. Select the profile on the WiFi network
Under Settings → WiFi, edit the existing SSID. Keep its usual WPA2/WPA3-Personal security and password.
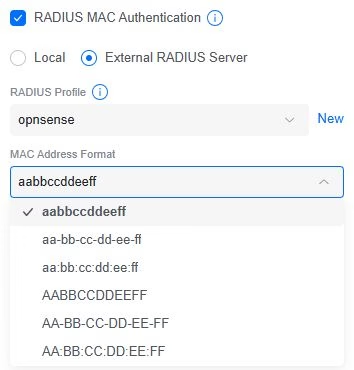
- Open the advanced settings and enable RADIUS MAC Authentication.
- Select the
opnsenseRADIUS profile. - Set MAC Address Format to lowercase without separators:
aabbccddeeff.
For a new setup, apply the WiFi change after completing the FreeRADIUS configuration below, so reconnecting clients have a working RADIUS service to query. These settings follow Ubiquiti’s MAC-based VLAN guide.
OPNsense / FreeRADIUS configuration
4. Enable FreeRADIUS and VLAN assignment
If needed, install os-freeradius under System → Firmware → Plugins. Open Services → FreeRADIUS → General and enable both Enable and Enable VLAN assignment.
My configuration also uses Enable VLAN fallback assignment, visible in advanced mode, with Fallback VLAN ID set to 1. This allows devices without a matching camera entry onto the normal network. Use the VLAN appropriate to your default network. This option deliberately accepts failed MAC logins onto that VLAN; leave it off if unmatched devices should be rejected.
Save the settings. FreeRADIUS’s separate DHCP Enable option isn’t needed here; clients use the existing DHCP service on their assigned VLAN.
5. Add the AP as a RADIUS client
Open Services → FreeRADIUS → Clients and add an entry:
| Field | Value |
|---|---|
| Enabled | Checked |
| Name | A descriptive AP name |
| Secret | The same shared secret entered in the UniFi profile |
| IP Address or Network with CIDR | The AP’s RADIUS source address, normally its management IP; use /32 for a single IPv4 address |
Save the entry and repeat for each AP serving this SSID. Allow UDP 1812 from those AP addresses to OPNsense through the relevant firewall rules. The client address is the AP, not the camera or UniFi controller.
6. Add the cameras as users
Under Services → FreeRADIUS → Users, add one user for each camera. For an example wireless MAC of AA:BB:CC:DD:EE:FF:
| Field | Value |
|---|---|
| Enabled | Checked |
| Username | aabbccddeeff |
| Password | aabbccddeeff |
| Description | A camera name or location |
| VLAN ID | 500 |
| IP Address / Subnetmask | Leave blank; use DHCP |
The username and password are both the MAC address, in exactly the format selected in UniFi. Leave Password Encryption at its default Cleartext-Password if viewing the advanced fields. This RADIUS password is separate from the WiFi password configured on the camera.
Save each user, then apply the FreeRADIUS changes. With VLAN assignment enabled, OPNsense generates the required tunnel attributes from VLAN ID; no custom reply attributes are needed. The OPNsense FreeRADIUS guide covers the plugin settings.
Check the result
Apply the UniFi WiFi changes, then reconnect a camera. In UniFi’s client list it should still show the existing SSID, but its network should be Cameras. Check that its DHCP lease belongs to the VLAN 500 subnet, that the recorder can reach it, and that Internet access is blocked.
If it fails, check Services → FreeRADIUS → Log File. A rejected login usually warrants checking the wireless MAC, its formatting and the matching password first. No request points towards the AP client entry, shared secret, firewall or server address. If authentication succeeds but the network is wrong, check both VLAN-assignment settings and the VLAN path to the AP.
This is running here with cameras on the normal 2.4 GHz SSID and VLAN 500. Adding another camera is one more FreeRADIUS user entry. MAC addresses can be spoofed, so this is convenient segregation for devices using the WiFi password, rather than strong device authentication.
Leave a Reply