You might think it a little odd for anyone to get excited about a J4125-based mini-PC in 2024, and you’d be right, but being a couple of generations short of cutting edge doesn’t mean this tiny computer is totally irrelevant.
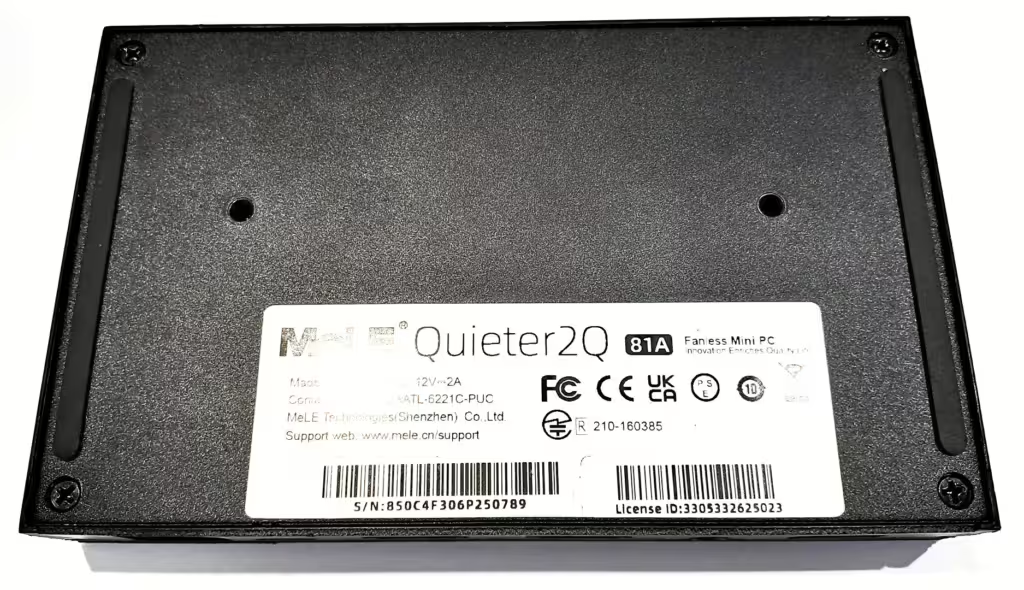
There are a few flavours of the Mele Quieter 2Q knocking about but the one on my desk is the model with 8Gb RAM & 128Gb eMMC storage. That’s actually plenty for a basic Windows or Linux install as a useful daily driver, but this PC has a beautiful secret…
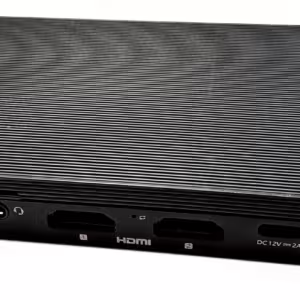
Just pop 4 screws out of the bottom of the standard mini PC and you’ll find there is a very useful and still relevant NVMe slot. Whack in a chunky NVMe SSD and you can use this miniscule, power-sipping PC for a range of purposes:
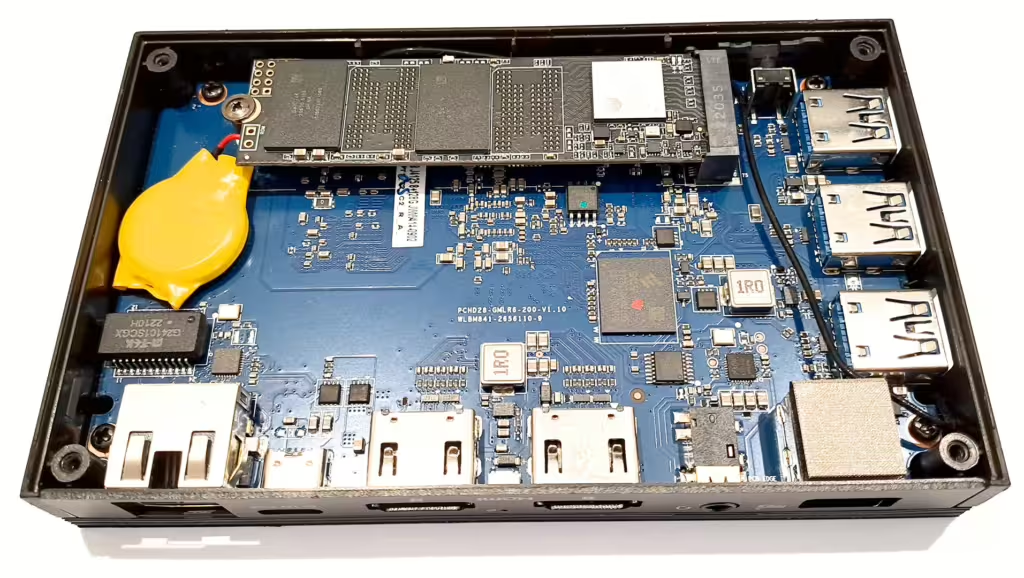
Unfortunately there is no similar upgrade path for RAM as it’s soldered on board, but even 8Gb is quite a lot if you don’t run an OS that’s bloated with irrelevant newsfeeds and Angry Birds installs.
There is a reason I’ve dragged this little wonder-box out of hibernation – I want to take down my main Proxmox node for maintenance and at the moment it’s running quite a few services (including this site). I’m going to use the Mele to make a two-node cluster and migrate some services to it to keep things up and running while I clean up the main box.

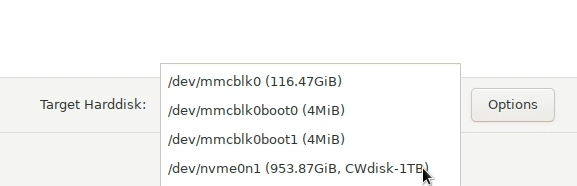
The Proxmox installer shows the new drive as /dev/nvme0n1. You can see the eMMC device (main chonk and a couple of smaller boot devices):
Install is a breeze as usual, once Proxmox is running I just set up LetsEncrypt to get a certificate, then create a new cluster on the existing Proxmox box, and copy-paste the quick join information from that dialogue to the join dialogue on the new node:
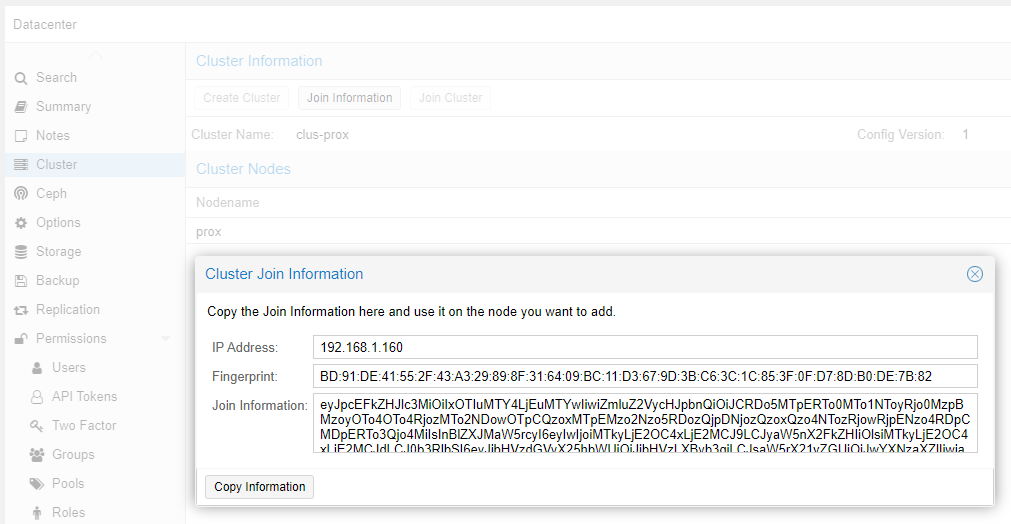
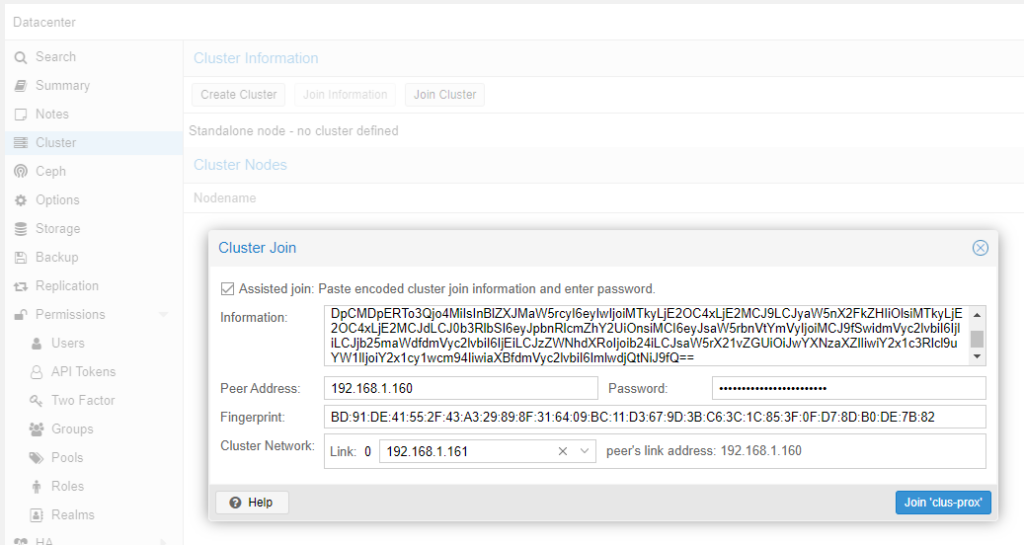
If you run into any problems with cluster join the first things to check are DNS resolution and the hosts files on each box. If you’re doing something funky like forming a cluster over Tailscale I’d recommend listing every node’s IP in each node’s hosts file. If you’re using a self-signed certificates that are not trusted on all hosts you need to specify the Fingerprint in this dialogue. If you have set up LetsEncrypt to get publicly trusted certs you can leave this blank.
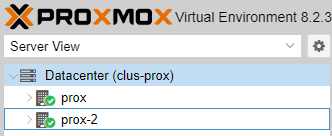
Nice! That’s my cluster up and running. Now you can manage any node from the UI running on any node, and migrating VMs or containers between nodes is as simple as hitting the Migrate button here:

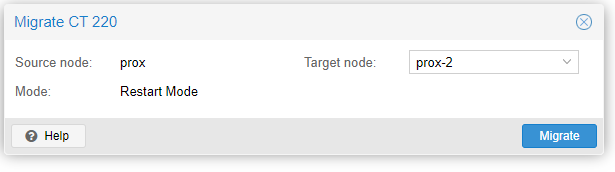
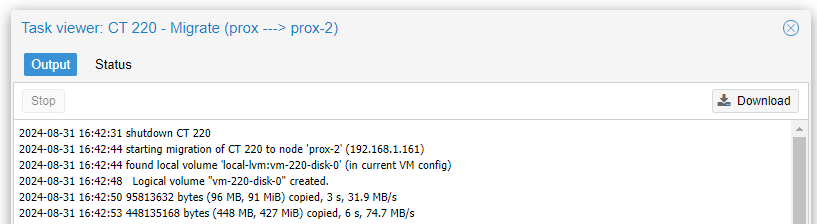
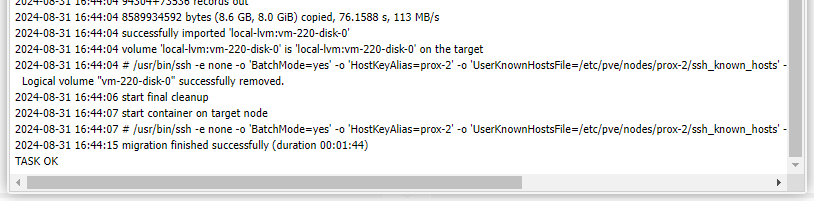
That’s it! Fun fact – VM migration is pretty much live – the VM continues running right until it switches to the new node, so you get virtually no downtime. LXC containers, though, have to be shut down to migrate so expect some outage while the storage is migrated across.
But now the REALLY impressive thing about the Mele Quieter 2Q – here is the power consumption, measured at the wall. The peak shows the container being migrated over, but it settles under 4W average:
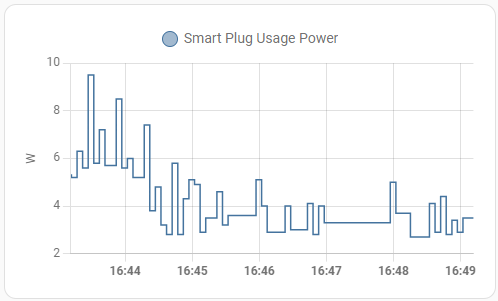
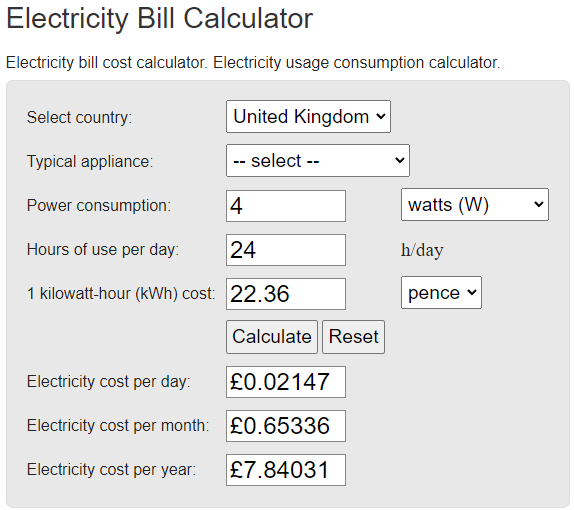
If you’re going to run something 24/7, it really ought to use as little power as humanly possible, and here the little Mele shows its true strength!
Final word to the wise
Proxmox has great support for clustering and resource migration. One thing you need to know though is that a two node cluster isn’t really a cluster and if one node goes down many things stop working. This is because the quorum system used to maintain state between nodes needs a majority (>50%) of nodes online to reach consensus for changes. In a two node cluster one node isn’t enough for this, so the cluster configuration goes read-only. If you hit this situation you can work around by using this command to reduce the required node votes to reach quorum:
pvecm expected 1A two-node cluster can also be used to easily migrate VMs between two servers you don’t actually want to cluster in long term – you can actually form the cluster, transfer the VMs and break the cluster afterwards. This is a really easy way to perform hardware upgrades with minimal downtime on a standalone Proxmox install.
The Mele 2Q seems to be discontinued, but you can check out the new version which has an N100 processor (should be pretty good bang/buck)
*Affiliate link, I get a small commission if you buy which I will probably spend on cat toys and single board computers.

Leave a Reply